Kiel Figgins - Character Animator
Film
Broadcast
Personal
Resources
Reel
Resume
Contact
Store
Store > Support > Anim Cycle
Toolkit to make creating animation cycles a bit more straightforward
Anim Cycle : Script Download, Basic overview on script use
Individual Tool Breakdowns : Overview on how each tool works
Anim Cycle
1. Download the free script HERE (Right click > Save Link As)
2. Open Maya
3. Reference in an AnimRig, steps covered in the Quick Start Guide
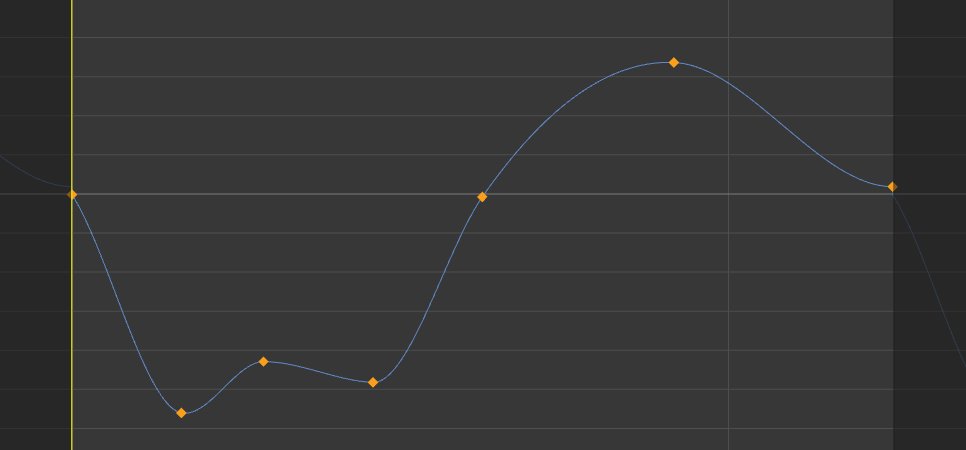
4. Animate the controls
5. Opening the Script
1. Maya > Windows > General Editors > Script Editor
2. Script Editor > File > Source Script... , Locate the kfAnimCycle.mel file, select it and click 'Open'
3. Script Editor > MEL Tab, type the following mel command:
kfAnimCycle();
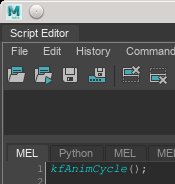
4. Script Editor > MEL Tab, press enter to run the command
5. A new UI should pop up, feel free to close the Script Editor
6. Select controls or curves as listed in the Tools list
7. Double click tool on the list to execute
Tool Breakdowns
This is a collection of tools to make animating cycles a bit more straight forward. The tool is expecting you to select either the controls or the curves themselves, as listed in the header in the tool list. Then double clicking the item in the list to execute.
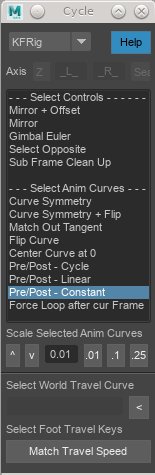
Rig Type Dropdown
This sets the Mirror/Offset/Select Opposite naming scheme and axis in the UI.
KFRig is based on the naming scheme of the rigs found at 3dFiggins.com/Store
User is a hardcoded option you can change if you edit the actual script in a text editor (See Below to steps)
Custom unlocks the UI bits so you can adjust them freely based on your scene
Axis : Defines the forward axis of your rig, click to change
Search/Replace Fields : Text in the name to search and replace
StartString : Defines how the search/replace will edit the string, either with a startString or a search/Replace. Click to change
For a naming scheme like char:RFootCon / char:LFootCon, you'd use L, R, Start String
For a naming scheme like char:CON_LFoot / char:CON_RFoot, you'd use _L, _R, Search Replace
To create your own User setting that's hardcoded into the script, you can edit this script in a text editor.
Find the global proc kfAC_Preset() and adjust the values in the User preset settings.
Then adjust the preset selection at the bottom of the global proc kfAnimCycle() to optionMenuGrp -e -v "User" omgAC_MirrorPreset;
- - - - - With Controls Selected - - - - -
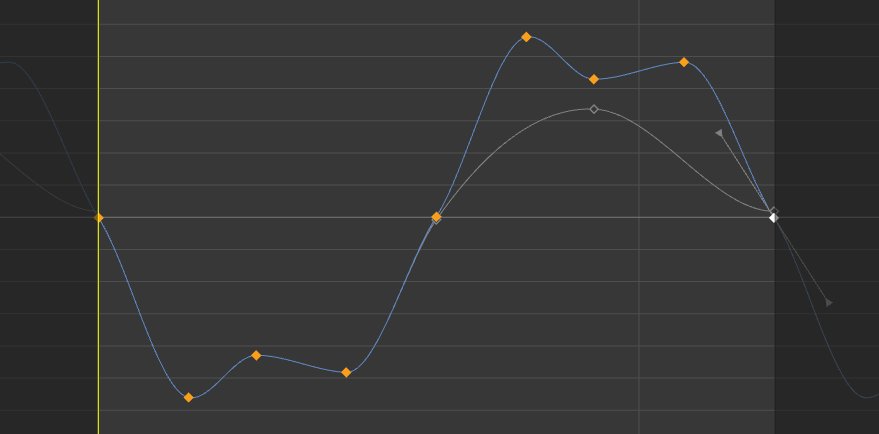
Mirror + Offset
Mirrors and offsets the animation from the selected controls to the opposite controls. Can go from Left to Right or vice versa
The offsetting is based of the current active internal range slider
If the range is an odd number of frames, this will cause sub frames when offset by half the amount. A warning will pop up before executing. I suggest extending your animation by one frame to resolve this and keep the keys on full frames. So instead of working 1-30, work from 0-30 or 1-31
Mirror : Mirrors the animation from the selected controls to the opposite controls. Can go from Left to Right or vice versa
Gimbal Euler : Runs Euler filter on selected controls to try and unwrap gimbal flipping on rotation curves
Select Opposite : Selects the opposite controls of whatever is currently selected, based off name scheme at the top of the UI
Sub Frame Clean Up : Removes keys on sub frames without baking by adding a key on the curve at the frame before or after (depending the sub frame value). Useful when scaling keys, dense curves, or frame rate changes.
- - - - - With Curves Selected - - - - -
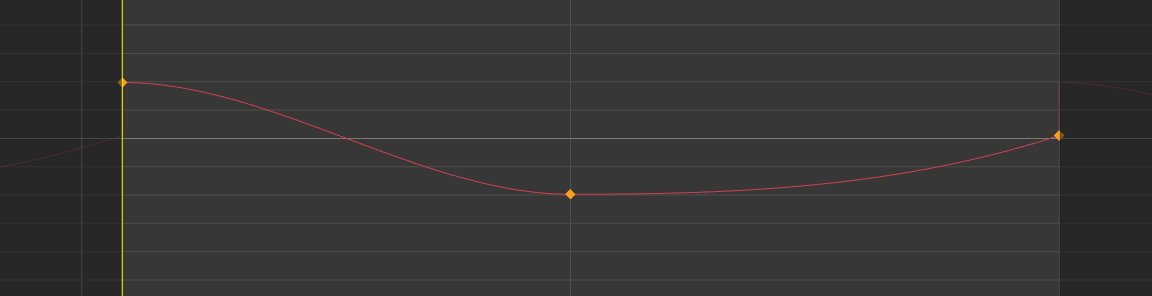
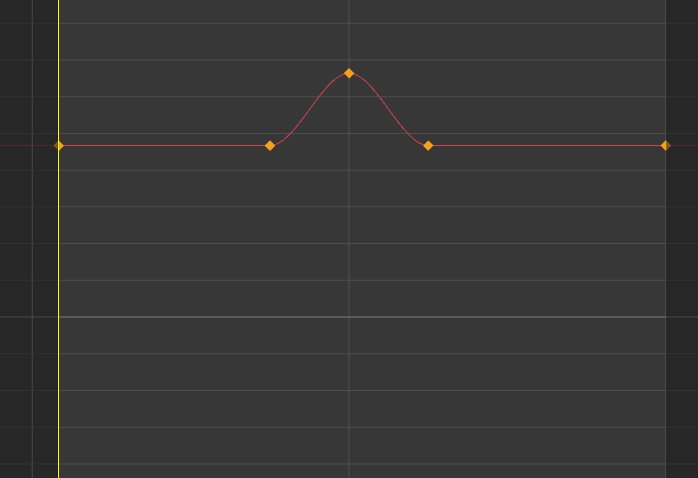
Curve Symmetry
Mirrors the first half of the curve to the second half. Used typically on centerline control like the hips or chest, so when your happy with the first impact, the second is identical
The symmetry is based of the current active internal range slider
If the range is an odd number of frames, this will cause sub frames when offset by half the amount. A warning will pop up before executing. I suggest extending your animation by one frame to resolve this and keep the keys on full frames. So instead of working 1-30, work from 0-30 or 1-31
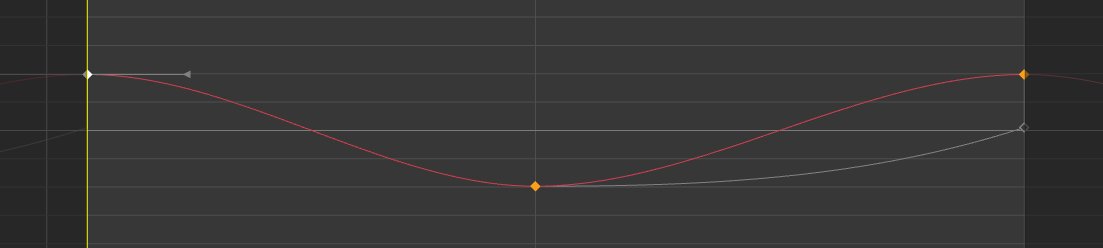
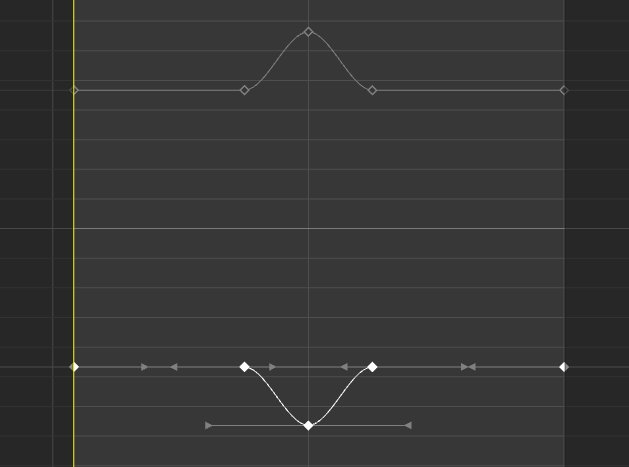
Curve Symmetry + Flip
Mirrors the first half of the curve to the second half, then inverses the second half. Used typically on centerline control like the hips or chest, so when your happy with the first impact, the second is identical by opposite, like the hips taking the step impact
The symmetry is based of the current active internal range slider
If the range is an odd number of frames, this will cause sub frames when offset by half the amount. A warning will pop up before executing. I suggest extending your animation by one frame to resolve this and keep the keys on full frames. So instead of working 1-30, work from 0-30 or 1-31
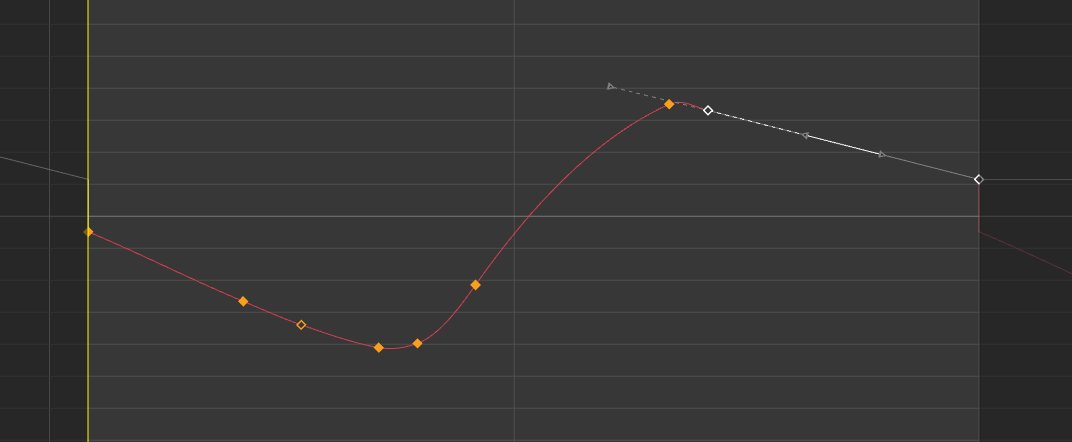
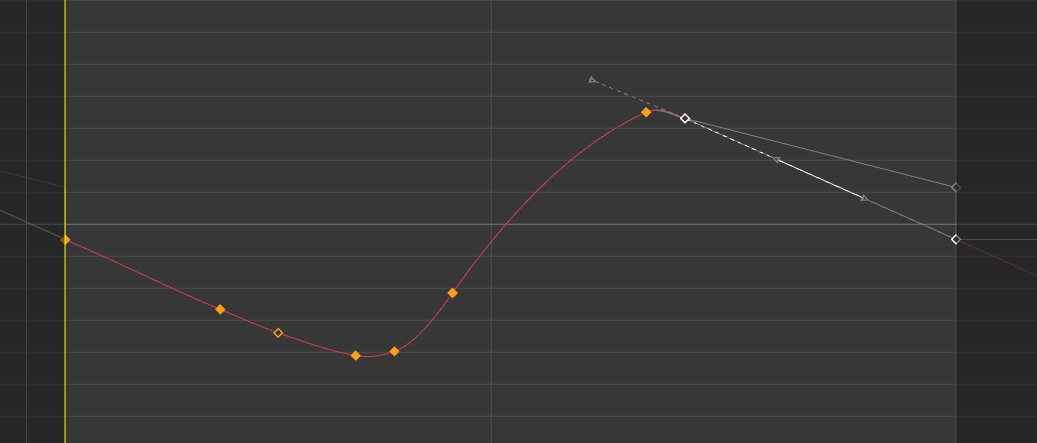
Match Out Tangent : Matches the value and tangent from the first key to the last key of the selected curves
Flip Curve : Inverses the selected curve over 0, useful when mirroring animation
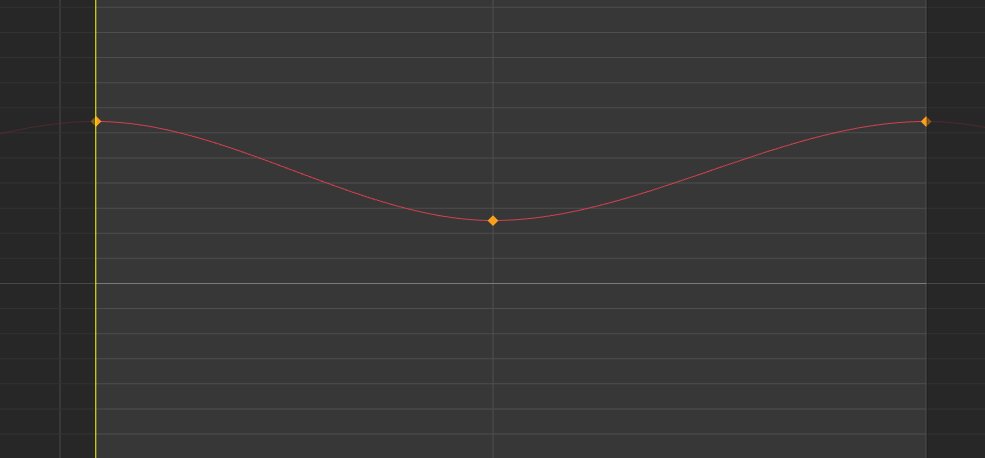
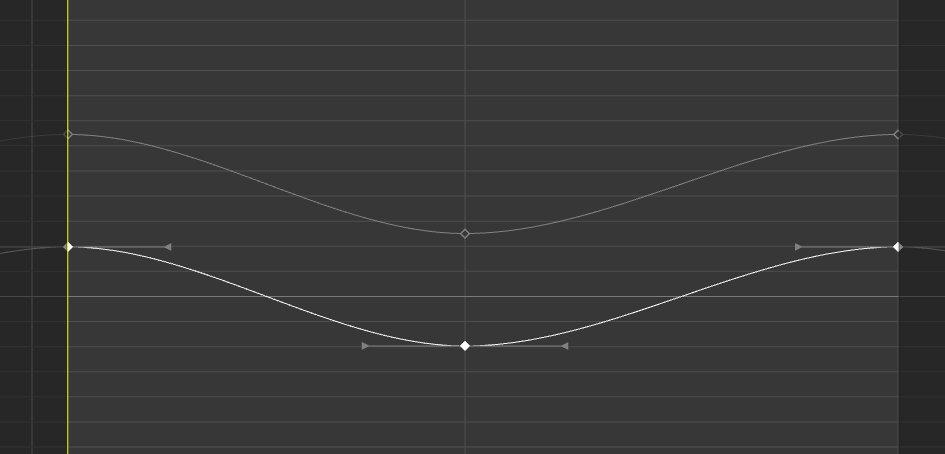
Center Curve at 0 : Moves the curve based off the peak/valley values so that the center is at 0. Useful is you want a curve to be symmetrical over 0, like a head look left to right without favouring one side
Pre/Post - Cycle / Linear / Constant : Sets the in/out infinity tangents on selected curves to the desired looping state
Force Loop after cur Frame
Used to make a non looping curve loop, such as a simulation or camera shake
Based of where the current frame is in the curve, the tool will match the end value and tangent and linearly adjust the keys back to the current frame
- - - - - Additional Tools - - - - -
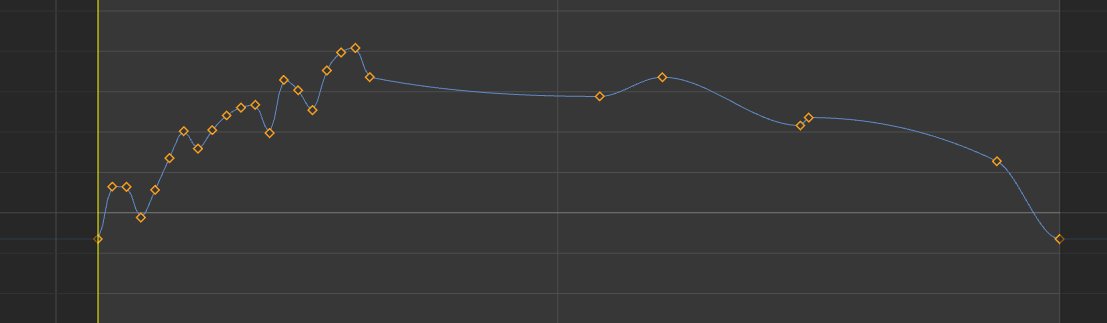
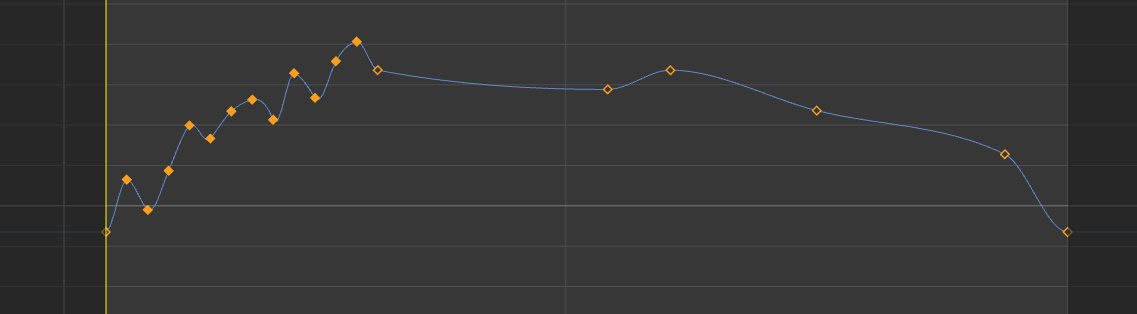
Scale Selected Anim Curves
Use the ^ and v buttons to scale up and down the selected curves by the amount in the float field
Useful when someone asks to make the TY half as much, set the float field to .5 and press v
Use the preset buttons to adjust the float value more quickly
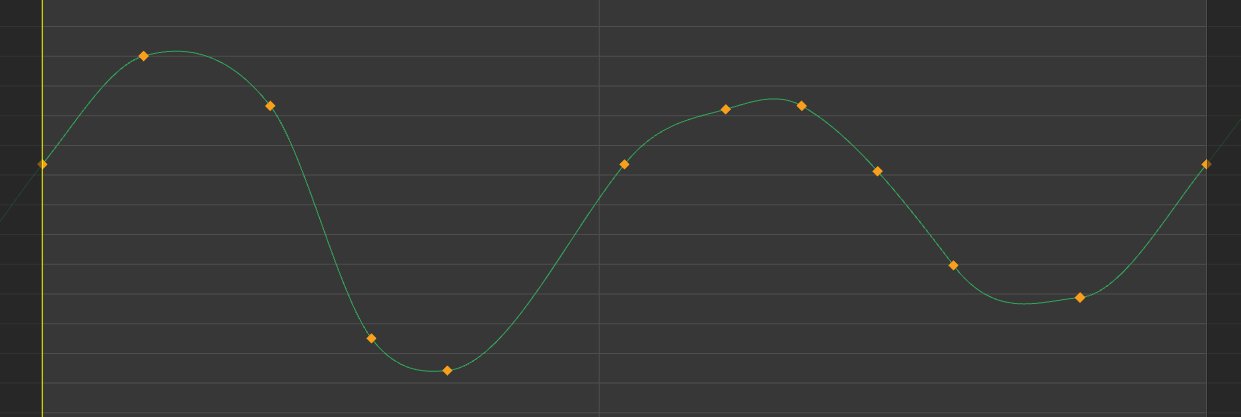
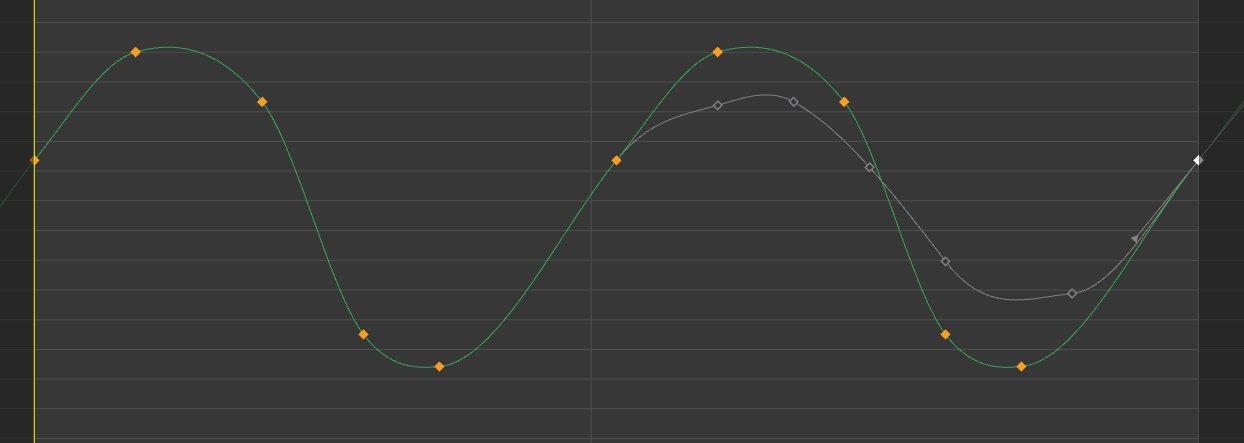
Match Travel Speed
Based off how I animate a walk/run/locomtion cycle, starting with the feet 'moonwalking' at origin, then having the world control translate forward on a linear curve to counter the feet. Then figuring out the desired speed the world control has to travel to match the desired gate. Then rebalancing the feet until the speed is ironed out
This tool matches the curve speed of the feet to the speed of world travel curve
To use
Select the world control forward travel curve in the GE, then click the < button
Select the foot control's forward travel curve's keys where the foot is planted
Click 'Match Travel Speed'