Kiel Figgins - Character Animator
Film
Broadcast
Personal
Resources
Reel
Resume
Contact
Store
Store > Support > HumanIK Definition Mapping
Quickly creating a HumanIK defination for AnimRigs
1. Download the free script HERE (Right click > Save Link As)
2. Open Maya
3. Open an HumanIK approved AnimRig (IMAGE OF HIK ICON)
4. Opening the Script
1. Maya > Windows > General Editors > Script Editor
2. Script Editor > File > Source Script... , Locate the kfHIK_Mapping.mel file, select it and click 'Open'
3. Script Editor > MEL Tab, type the following mel command:
kfHIK_Mapping();
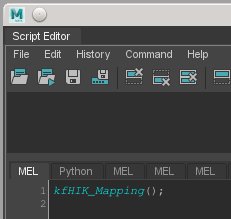
4. Script Editor > MEL Tab, press enter to run the command
5. A new UI should pop up, feel free to close the Script Editor
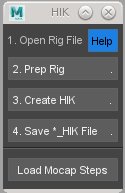
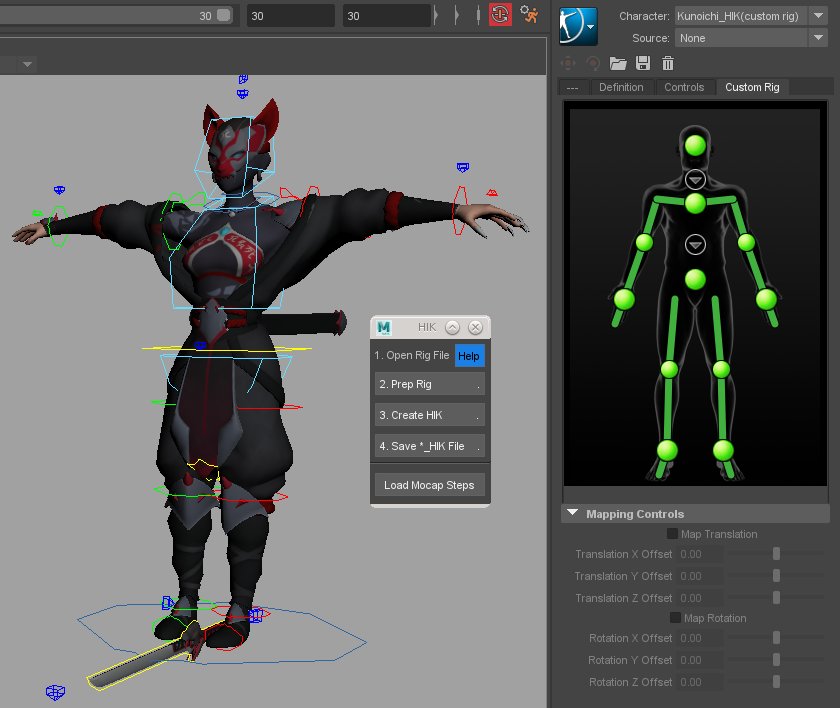
5. Click 'Prep Rig' button. This sets the T pose and limbs to FK. If you want to map your own HIK setup, you can stil use this feature to set the pose.
If you do want to do you own mapping, set the jointVis to 1 on the World control, and use those joints in the mapping.
Tip: set the viewport to x-ray joints to make selection easier
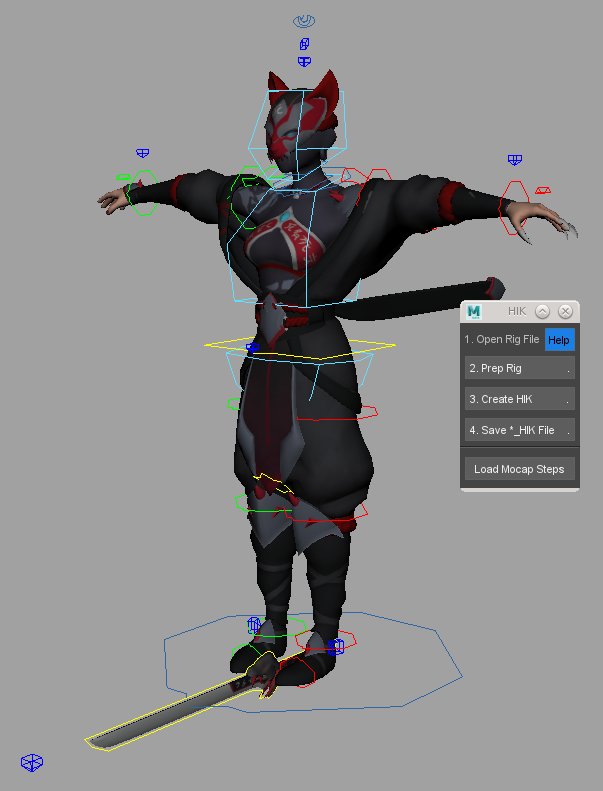
6. Click 'Create HIK' button. This defines both the skeleton and the controls
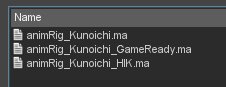
7. Click 'Save HIK File' button. This is to save the character mapping, that you can then use the *_HIK file when referencing into your animation scene.
Once you bake the HIK mocap/animation back to the actual rig, the results will be on the FK limb controls. You can use the IKFK script to bake the animation back and forth from FK to IK.
