Prepping a Mesh to Rig
Kiel Figgins - 3dFiggins.com
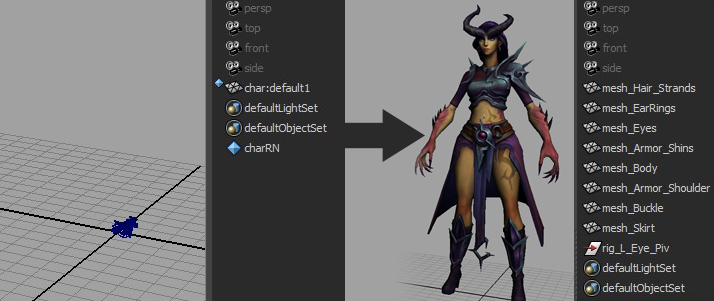
Table of Contents
Overview
Opening the Model
Mesh Overview
Shaders
Final Clean Up
Overview
As a Setup Artist, you're responsible for what's in the rig file. If you open a model directly and start working, there could be stray elements (nodes, utilities, cameras, textures, etc) that can cause problems in the future. Sometimes you can talk to the modeler about what you're looking for when an asset is handed off, other times you're given an asset from an unknown source and have to process it accordingly. In either case, it's good to be through before jumping right into rigging.
Rig available at 3dFiggins.com/Store
Drakonia Character by Timofey Razumov
Opening the Model
As mentioned above, I don't open model files and start rigging. Here's the process on how I bring in a model.
1. Create a new scene and open the Script Editor
2. Reference in the OBJ/FBX/Maya File of the model
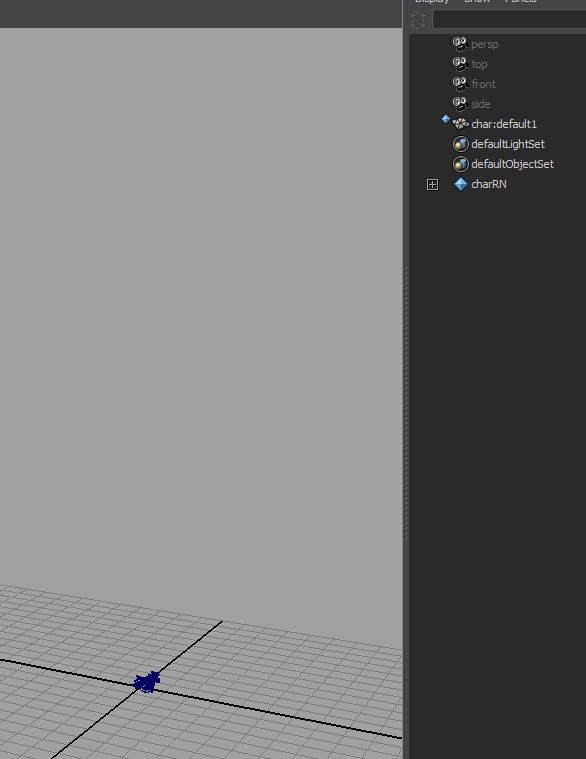
Img 0 - Character Referenced In
3. Check that no unknown errors come up about missing plugins or other errors
4. Mesh Once Over. This is an initial overview of the mesh and file to get your head around what's all there.
Open the outliner, see what kind of hierarchy is there
Turn on all the display layers to check for hidden meshes
Turn off all the polyDisplaySmooth on the meshes
Look for any useful transforms to save out such as alignment groups for mechanical bits
5. Duplicate the referenced meshes you intend to rig, skip stray scene elements/clutter from the model file
6. Remove the reference. Run the following MEL lines to check for any stray unknown nodes before starting, and delete if necessary
string $unknownNodes[] = `lsType unknown`;
for($node in $unknownNodes){
if($node=="")
break;
if(`objExists $node`)
{
int $lockState[] = `lockNode -q -l $node`;
if($lockState[0]==1)
lockNode -l off $node;
delete $node;
}
}
Mesh Overview
1. Verify the characters scale for the project
This can be done by referencing another approved character for comparison. For game projects, I'll create a single joint skeleton, skin it to the mesh and export the character FBX and send it to the client. They can bring it into they're engine and check the scale. If it needs to be adjusted, they'll send you the value for you to apply. Then export another FBX again to confirm before starting.
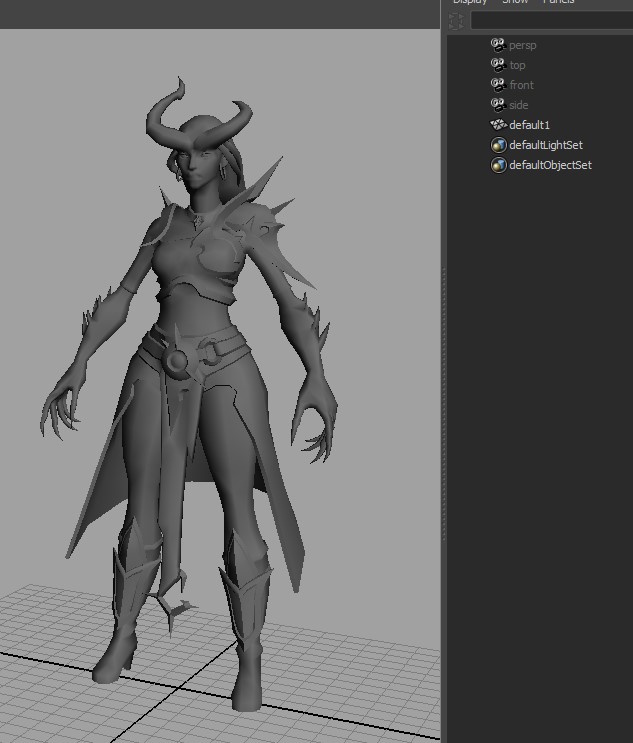
Img 1 - Character Scaled
2. Verify character orientation/offsets
As different assets, artists and 3d softwares work in different scales and up axis, it's always good to check these carefully before starting.
Standing on Grid
Facing forward Z
Centerline is centered on X axis
Remove stray top group rotations (sometimes modelers rotate the model to create a 360 render, sometimes leaving a stray rotation on the character top group)
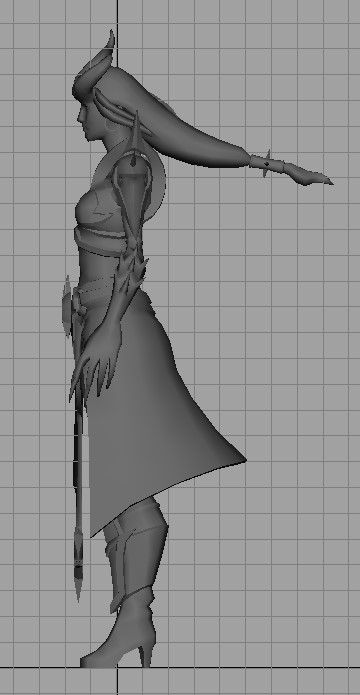
Img 2 - Side View of Character standing on grid, at origin
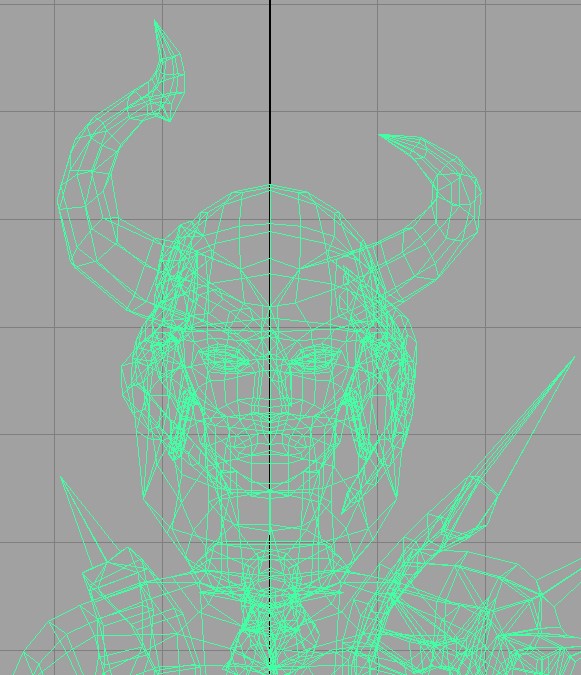
Img 3 - Front View of character's centerline at X = 0
3. Mesh Naming
Again, very pipeline dependent. If the modeler is creating blendshapes, or if other departments need specifics like hierarchy, naming, etc you'll want to know those before editing. In this example, we have complete control to fit the mesh to our needs.
Start naming existing meshes. I typically have mesh_ as a prefix. Some people do a suffix like _GEO, but I've personally found that tricky in instances where a mesh is duplicated it adds a 1 to the end throwing off the naming. Again, check the pipe you're working in
Separate combined meshes if necessary. I use the naming process to make a list in a text doc about the custom elements of the rig that are needed and the setup I intend for them
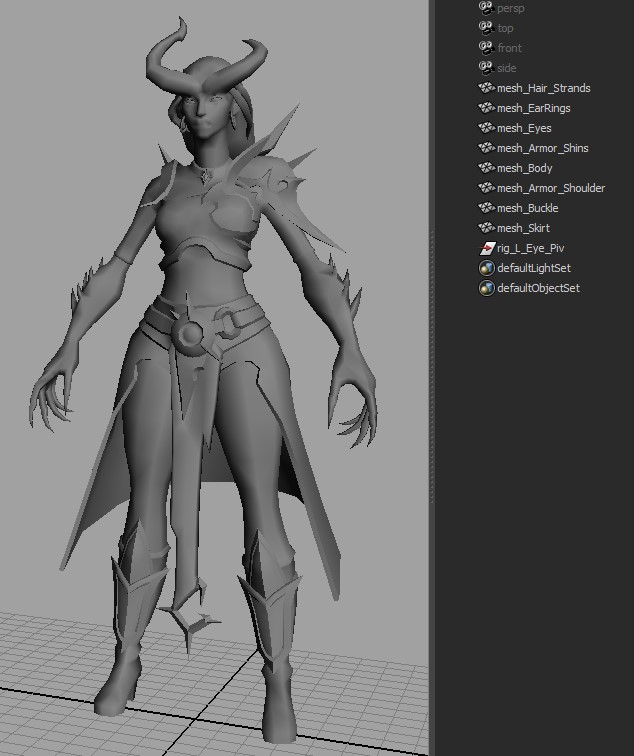
Img 4 - Character Seperated and Named
4. Cleaning History/Freezing Transforms
Once the scale has been established, the character is standing in the right spot, facing the right way and the meshes are named, you'll want to DeleteHistory and FreezeTransformations. However, before doing this, you may want to save out some empty nulls or locators with key transforms to help you later when rigging. These include:
Align of mechanical bits, such as cylinders or gears
Nurbs curves used to create the model's cables, tubes, hair, etc
Pivots for eyes or other groups that may be useful
Once these are saved out, you can go ahead and DeleteHistory and FreezeTransformations on the meshes. Doing so prevents offsets in skinning or scale values from becoming an issue later. Plus removing history on meshes increases the playback speed of the rigs.
Shaders
This is heavily pipeline dependent. Some pipelines have lookdev / shaders come after the rig (leaving only lambert1 in the rig), others want the look dev in the rig file. I prefer them to be separate so the look dev can be updated/adjusted without needing rig updates. However, for this example, we'll be recreating the shaders supplied with the texture files.
Assign Lambert1 to all meshes to clear / reset shader assignments
Recreate the shaders assignments for the model with proper texture mapping. This can be tedious, but allows you to know that everything in the scene is formatted and mapped correctly
Final Clean Up
There are a few additional steps you can do or at least double check before starting to rig.
Deleting unknown nodes
Deleting unused Shaders
Deleting Display layers
Optimizing the scene file (though make sure it doesn't delete your saved nulls/locators)
At this stage, you should have a clean mesh that's been approved by the client to start working on. Atop that, you know that everything in the scene is accounted for and you have a clear road map for the rig ahead you intend to build.
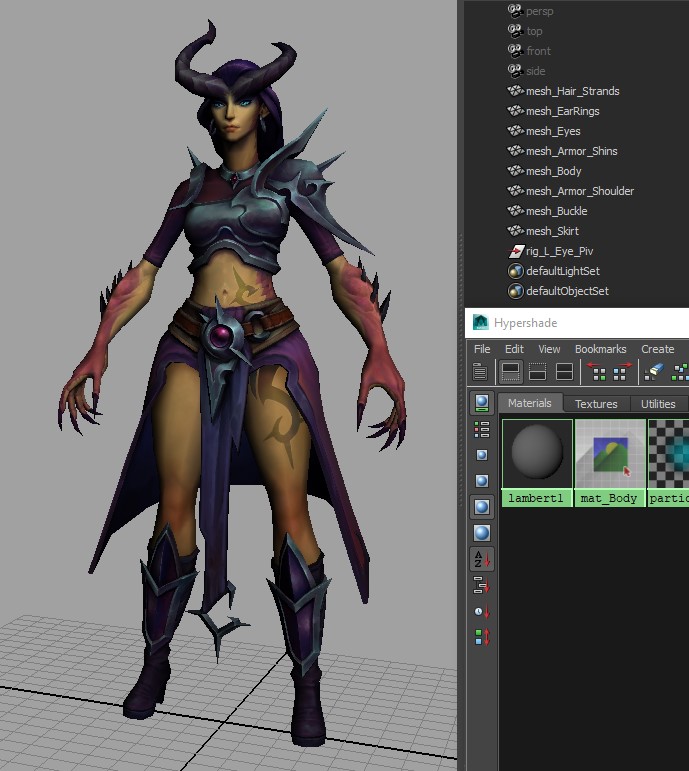
Img 5 - Character Processed and Ready to Rig!
Other Opinions, Further References, Typos, and Grammar Issues please contact KielFiggins22@gmail.com