Kiel Figgins - Character Animator
Film
Broadcast
Personal
Resources
Reel
Resume
Contact
Store
Store > Support > Lightning
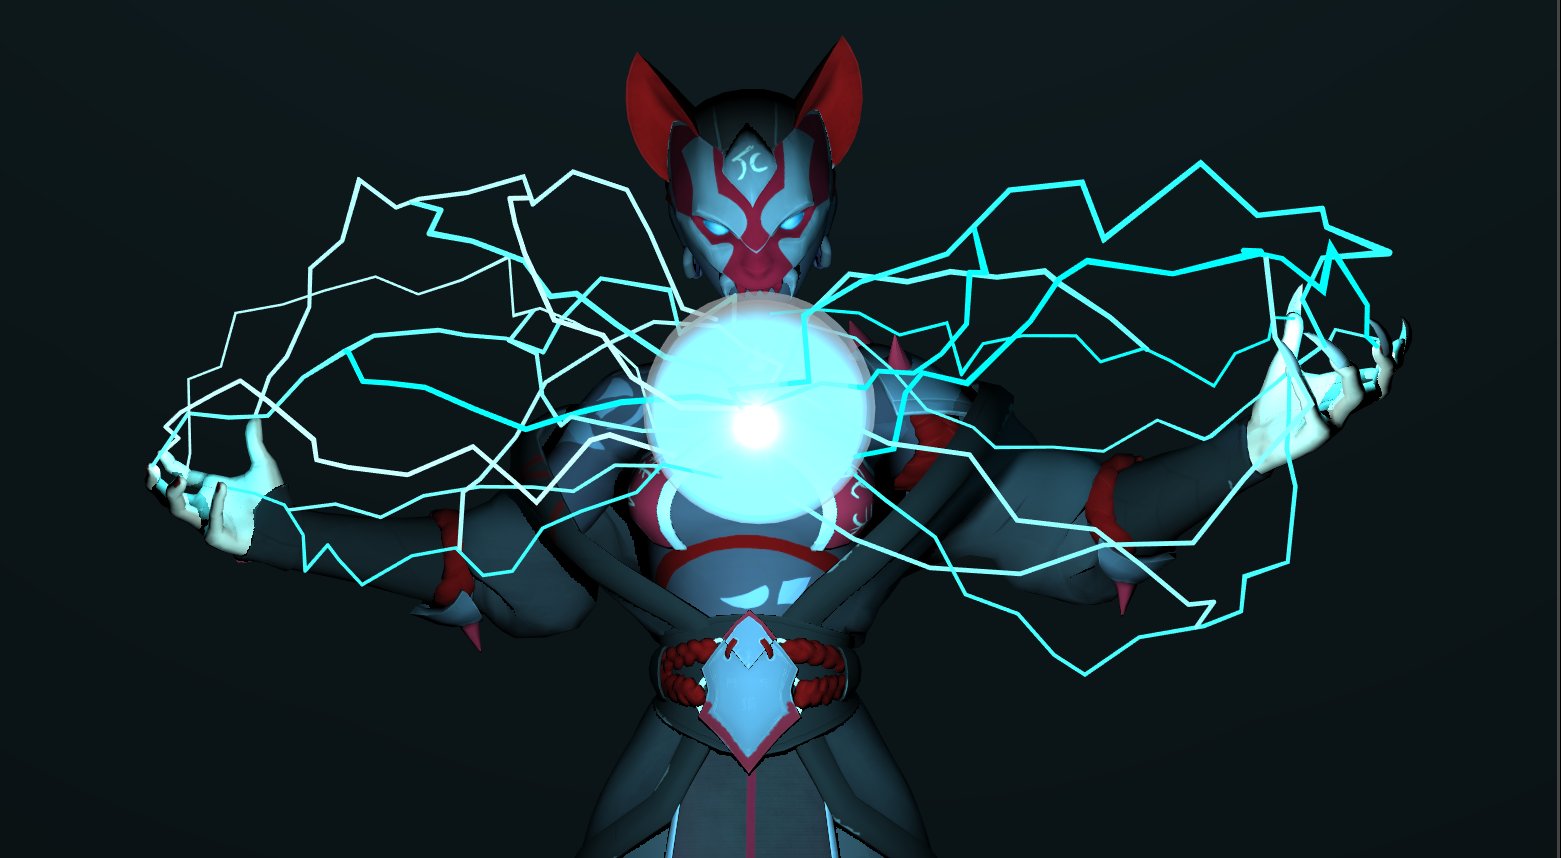
This tools creates an animation friendly way of controlling lightning FX by providing a control rig with preset animation and a nurbs Surface extrude and material
Tool Setup : Script Download, Basic overview
UI Overview : Overview of the UI Options
Rig Overview : Overview of the various controls in the setup
Tool Setup
1. Download the free script HERE (Right click > Save Link As)
2. Open Maya
3. Opening the Script
1. Maya > Windows > General Editors > Script Editor
2. Script Editor > File > Source Script... , Locate the kfLightningCurve.mel file, select it and click 'Open'
3. Script Editor > MEL Tab, type the following mel command:
kfLightningCurve();
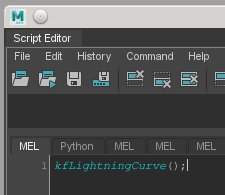
4. Script Editor > MEL Tab, press enter to run the command
5. A new UI should pop up, feel free to close the Script Editor
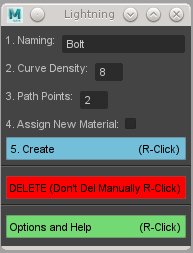
UI Overview
-Naming: The name of the individual lightning element
-Curve Density: How many CVs along the curve, the more CVs the more noisey and greater control you have over the shape
-Path Points: A slighting point on the curve that you can connect other lightning rigs to, this can create arc lightning or branching. Additional path points can be added after the rig is created from the right click drop down menu from the Options button
-Assign New Material: By default all lightning rigs share the same material, mat_Lightning, on the output mesh. Checking this option will create a new material and assign the naming as a suffix. This is handy if you want to have different color bolts or animate the individual shaders to add complexity
-Create Button: By default this creates the lightning rig at origin, this button also has right click options to attach the rig on creation to what you have selected.
Attach Origin and Target to Selection: If you have two objects selected, the origin will be constrained to the first and the target will be constrained to the second. Useful if you want to shot lightning from a characters finger tips at a known target
Attach Origin to Selection: Only attaches the origin to your first selected object
Attact Target to Selection: Only attaches the target to your first selected object
-DELETE: DON'T MANUALLY DELETE THE RIG! There are many additional nodes that will be left in your scene if you just delete the top group. Select the top groups *_DONOTADJUST or the CTRL_*_Origin controls and click DELETE from the UI to properly remove the rig from your scene
-Options and Help: These are various options after the rig has been created
Add Additional Point Path: Select the CTRL_*_Origin control to add more point on path controls to the existing rig to larger branching setups
Assign New Material to Mesh: Select the CTRL_*_Origin control to add a new material to the output mesh, useful if you want to change colors of the lightning or animate individual materials for greater complexity
Apply Anim Preset at Current Frame: Select the CTRL_*_Origin control to apply the preset bolt animation at the current time. WARNING: it removes the keys from the origin control before doing this.
-HELP: Opens help window
Rig Overview
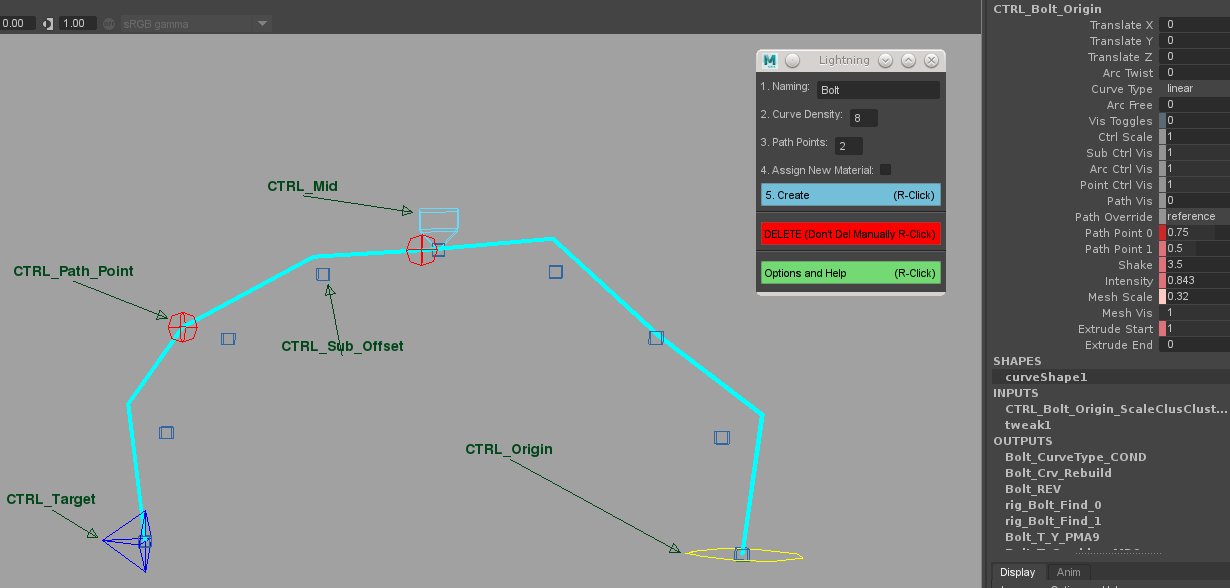
CTRL_Origin: Where the lightning emits from and hold the majority of custom attributes to adjust the lightning. The group above this control, CTRL_*_Origin_ConstrainMe, can be used to constrain the origin to a scene object.
CTRL_Mid: Use to adjust the height of the lightning arc
CTRL_Target: Where the lightning strikes. The group above this control, CTRL_*_Target_ConstrainMe, can be used to constrain the target to a scene object
CTRL_Path_Point: Points along the curve that other lightning rigs can be attached to, this can create larger branching lightning setups
CTRL_Sub_Offset: These sub controls allow you to shape the arc. The Intensity channel on these controls allow you to increase or even turn off the effects to taper the noise from the lightning